Exercise 4: Shooting a short sequence
Objective: To produce a short sequence of shots to illustrate a given narrative, visualise the important elements in the frame and choose a suitable sized frame to contain that element. Make a storyboard to remind you of the shots you wish to make, annotated to show what information is being conveyed.Storyboard:
- The angle of view of my video camera is much less than my visualisation
- I tried the first frame (the eyes) but the sudden change from objective to POV viewpoint didn’t work.
- The ceiling lights are spots, not a single lamp, not that it matters too much
- I panned right from the door to the table with the bottle in two shots as planned. The reason for this was the reflections in the cupboard doors and the TV screen.
- The speaker on my camera picked up some interference from the wireless phone when it rang. Noticeable but a lesson learned.
- I’ve uploaded the video to Vimeo.
DFP Exercise 4 - Alcoholic from Richard Down on Vimeo.
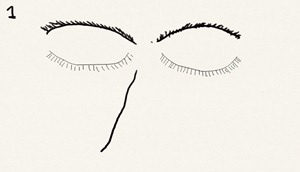
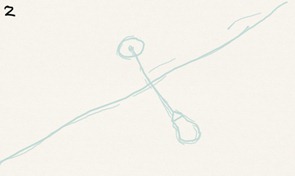
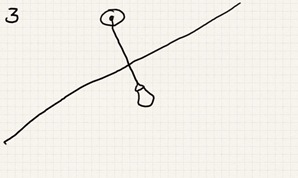
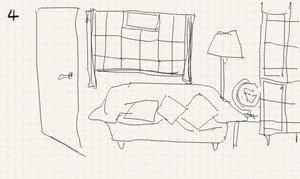

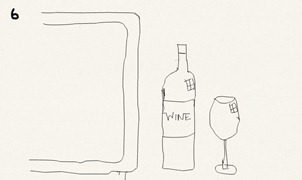
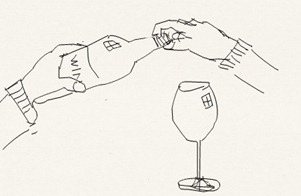
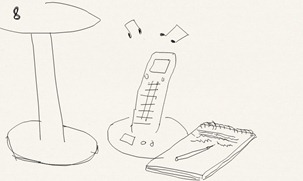
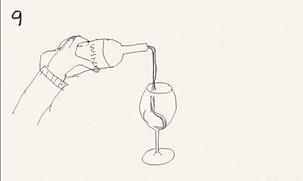
Hi Richard - your storyboards for this exercise are excellent - the quality of your drawing is so good. I'm not an expert on commenting about film but the overall feel of it to me is that it is a bit slow and the camera movements are perhaps too controlled to be in the hands of an alcoholic. Lighting and colour looks good
ReplyDeleteThanks Margaret. I've just looked at your latest post and added my comments. My storyboards are evolving, I must admit to not looking forward to that part of the process but since I started using the graphics tablet they have become less fussy and simpler. I take your point about the speed and admit that I was trying to emulate someone who had just woken up, probably with a hangover, eyeing the room up in an attempt to remember where they were. Looking at it again after a couple of days, you could well be right and I may have laboured the point.
ReplyDeleteI've not elaborated at all on details of how I produced this sequence. I noticed you went into a very detailed explanation. Is that what is expected for exercises as well as assignments?
No I don't think so not for exercises. It's good to write how you went about the exercises, what went wrong and right etc so that the assessor can see that. I am not actually going for assessment because I have the points I need. But I always seem to have to go into detail for assignments - it's my way of doing it. I've learnt from previous tutors that you shouldn't assume that the assessor/tutor will know what you mean!! So I have learnt the hard way to include stuff...
ReplyDeleteHave a good week
Margaret
Hi Richard - how do you get your Vimeo video to play on your blog?
ReplyDeleteMargaret
Hi Margaret,
Delete1.If you go to your video on Vimeo, you will see, the top right of the view window a link which says embed.
2. Click the link and a window will open called Embed this Video. In the top box, copy the html code and close the window
3. Open blogger's edit page (or what ever you use, I use live writer) At the top left look for the button labelled html. Click that and the page changes to html code.
4. Scroll to the bottom of the page and paste in the copied code. Save the page and return to edit. Your Vimeo viewer will appear and the end of your blog.It won't be active until you publish. I insert it after the last bit of text I wrote. I don't know enough html to be able to place it precisely amongst existing text but this works OK for me.
That's great Richard. Thanks. I'll give it a go next time.
ReplyDeleteMargaret